This can be a fun and easy classroom or at home project to create your own neon-style sign using LED lights. The LED neon signs are also more environmentally friendly and long-lasting as compared to the traditional gas-neon sign boards. DIY LED neon sign tutorial for students and teachers
Materials You’ll Need:
IP68 Waterproof Neon Flex Light LED Strip:
These strips have the appearance of traditional neon lights, but in fact these are LEDs placed inside a flexible silicone or PVC tube. They come in a lot of colors so you can cut it to your design.
This will be the bottom of your sign. A modern or clean look is Acrylic, while if you wanted rustic or somthing more solid plywood would be best.
Most of the LED neon strips come with adhesive backing. If not, you will need mounting clips or super glue to connect the strips onto our base.
Ensure the LED strip has a power adapter. An adapter will be necessary if you do not have a wall outlet.
These are used to trace your design on the base material.
These are the tools you need to cut the LED strip in a correct length.
Heat Shrink Tubing (if you have it on your hand):
Great if you ever need to cover or link some exposed wires together.
Screws and Drill (Optional):
If you plan on hanging your sign to a wall, you might need some screws and drill machine.
Step-by-Step Instructions:
The first step is to design your layout on paper. Lowercase — think heart, star or a small word for entry level stuff.
Use a marker or chalk to transfer the design onto your acrylic sheet/plywood This will serve as a guide for you where to put the led strip just make sure that this lines are visible.
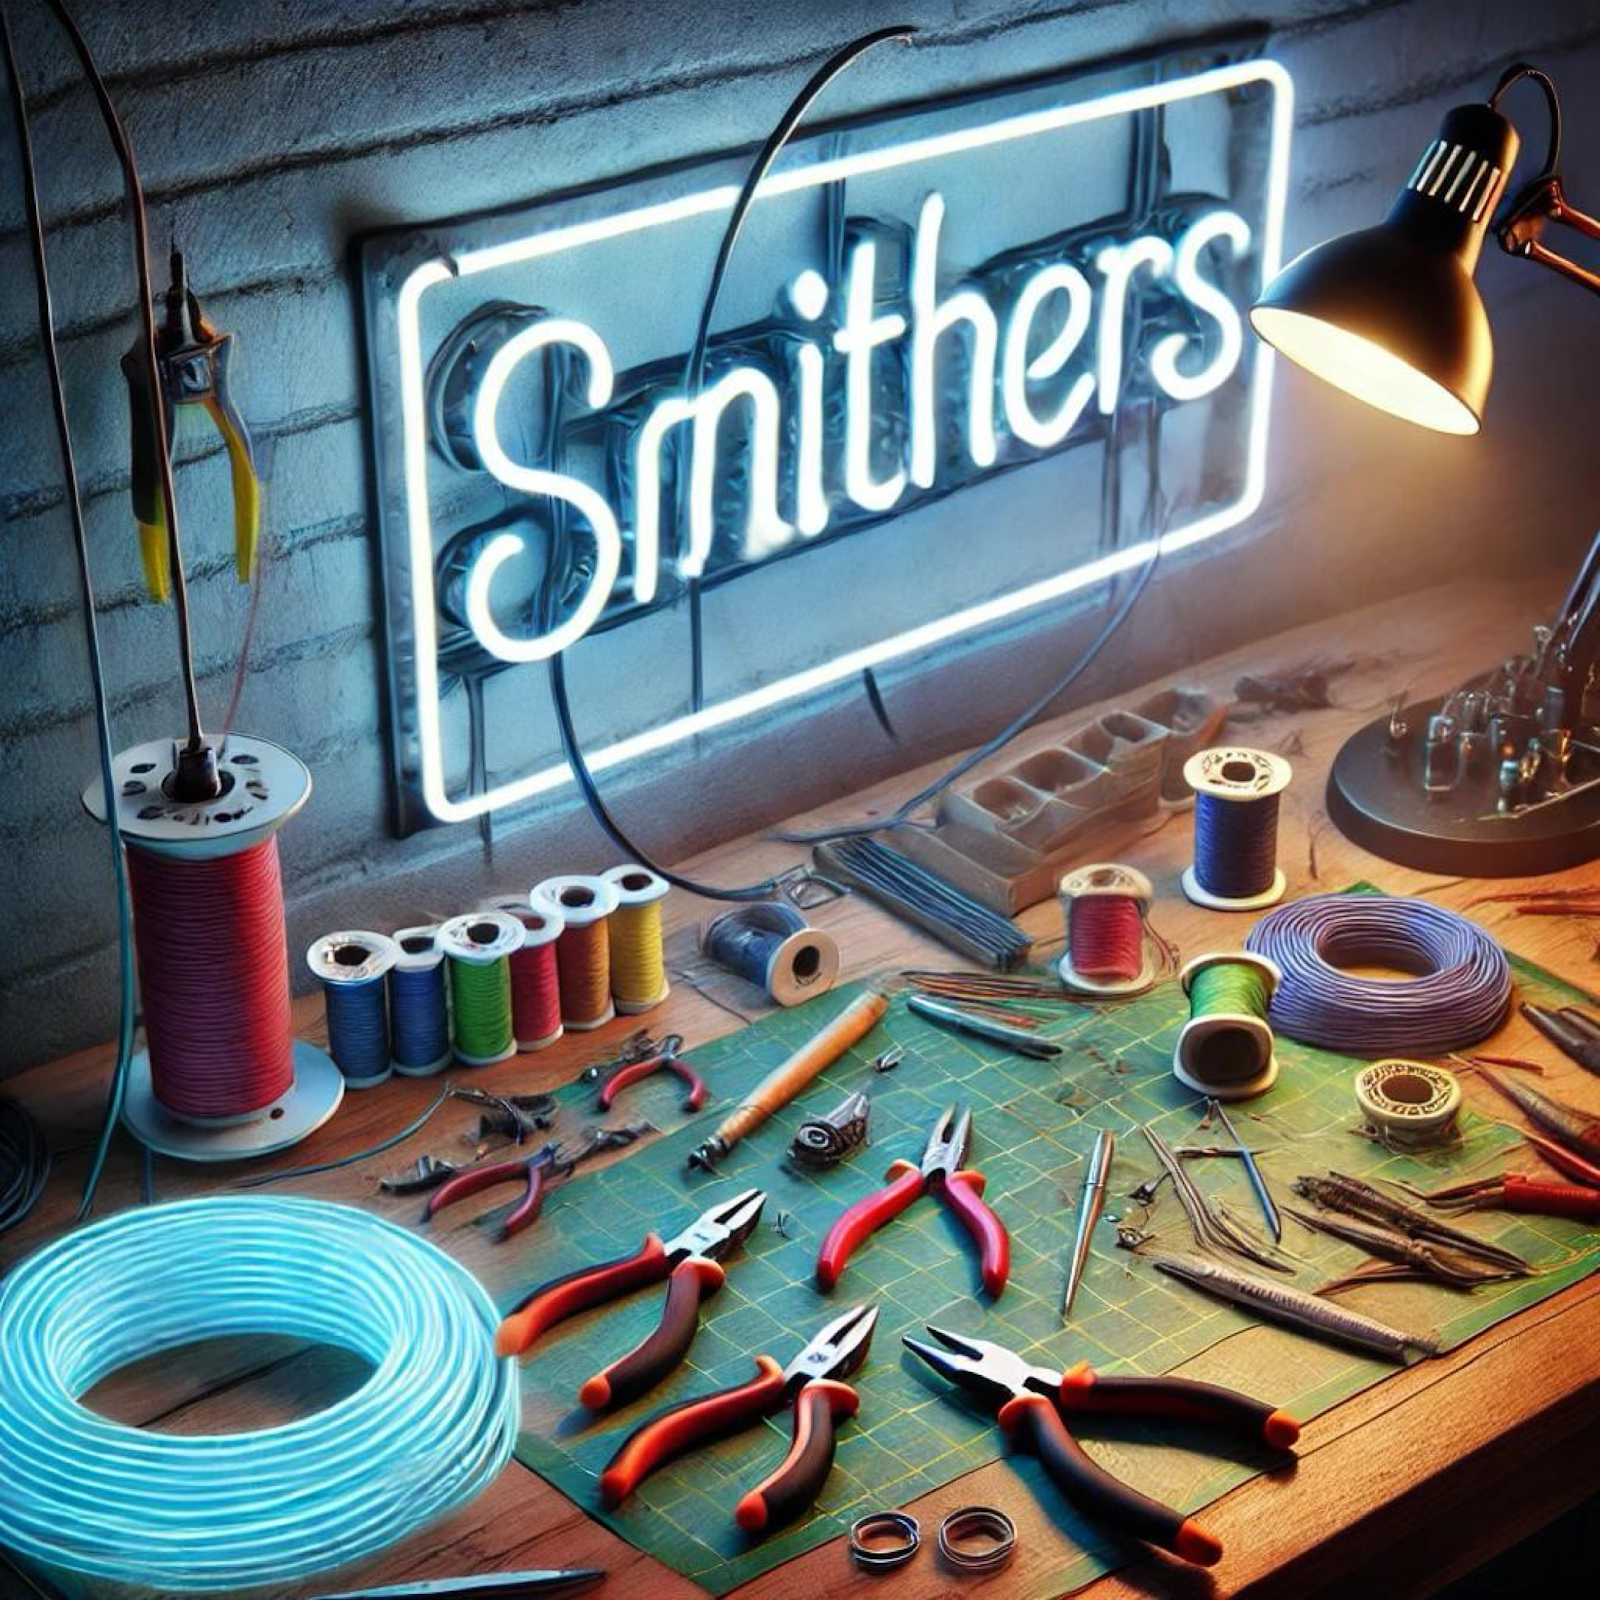
Measure the length of LED strip composite you should buy (fig. 1). You make some measurements, then you can cut the strip on points marked.
Using either your wire cutters or scissors, trim the strip to length.
Shape the LED strip with precision, following your desired design. Treat it gently so as not to break the wiring inside.
Step 1: LED Strip attached on the Base familiar with Friends and Fellow Makers, let us have a brief look around!
Remove the adhesive back covering of the led strip and press it firmly against your design lines.
If the strip is not adhesive backed then use mounting clips or apply a good strong hot melt style glue. Wait till the adhesive dries at its place.
Follow the manufacturer’s instructions to connect a LED strip to the power supply. That usually means connecting some wires from the strip to the power adapter.
Power on your device and connect the power source. Ensure that all pieces of the LED strip is lighting up uniformly. If there are issues, go back and check your connections.
Once tested, remove the power and make any final tweaks to where you want your LED strip.
Drill holes into the corners of the base as a final step and attach with screws to wall.
Or, you can just press the sign against a shelf or desk.
The Basics: If it's your first time, start with something basic (a heart, star or a short word). You can start by trying more complex shapes or phrases as you get the hang of it.
Templates: In some cases, prints can be damn fine detailed and so instead of measuring everything out this template helps to get you started.
Safety First: As always when dealing with electrical components – be careful. Always make sure that your power supply is connected correctly, and that you are not trying to fry both plate-side channels at the same time!
Room Decor: Make regular signs that have your name or favorite quotes, or cut out shapes to blend in with the room you will be using them for.
Gifts- you can provide handmade LED neon signs for friends and family myinclude personalized')}}"> Fashions Gifts Handmade Products Tools Home & Kitchen Wine Beauty Personal Care Fashionifa_Event_Function("resize_products_from_category=function(){ if ($('.Fashion_IF_A_loading').
For School Projects: This projects may be a fun way for students to learn about circuits and design while holding something cool but dental.
Parties, weddings and holiday events: When it comes to events decorations, LED neon signs can definitely help your party stand out with its colorful funky flair.
Creating a DIY LED neon sign is an enriching and innovative pursuit, I would rather say for classrooms. This is a fun way to get some experience with designing in relation to electronics and results in you having your own custom piece of art that also serves as something useful. These steps allow students and teachers to create colorful, individual signs between their online meetings. So collect your supplies, map out a stencil design and get creative with making your LED neon sign!
Author Bio:
Smithers Of Stamford is a provider of eclectic furniture and homeware from all over the world by Founder Nick Smith with his passion for Vintage, Rustic cool to iconic styles. Nick operates as a custom LED neon sign maker and combines old school design with new age technology. Constantine and the Antique Trade had been part of his life for years when together they follow a passion that has preserved yesteryear in all its splendor. From any custom neon sign to curating upcycled treasures – Nick's hand is in every project he takes on.
Church Farm, Main Road Etton Peterborough Cambridgeshire PE57DA